
 Understanding How to Easily Decorate a Pre-Lit Needle Branch Flocked Christmas Tree became a popular must know tip for those who love to have a memorable holiday. However, very limited people know what they can do to save their time on tree ornamentation while keeping high quality in the results of their activities.
 The below video provides you with techniques, from which you can be able to prepare a compelling tree decoration at same time that you save time on both preparing the three for the Christmas and removing the lights to keep your tree safe after the holidays.
If you are like me who has limited time for Christmas preparation, you will not hesitate to learn for free from experts that have been frequently using the technique. This quickest way has the reputation of saving time for many people involved in home decoration activities.
By describing How to Easily Decorate a Pre-Lit Needle Branch Flocked Christmas Tree, this video can help you understand and tweak the steps you were already following for a whole new way of decorating your house.
Supplies Needed
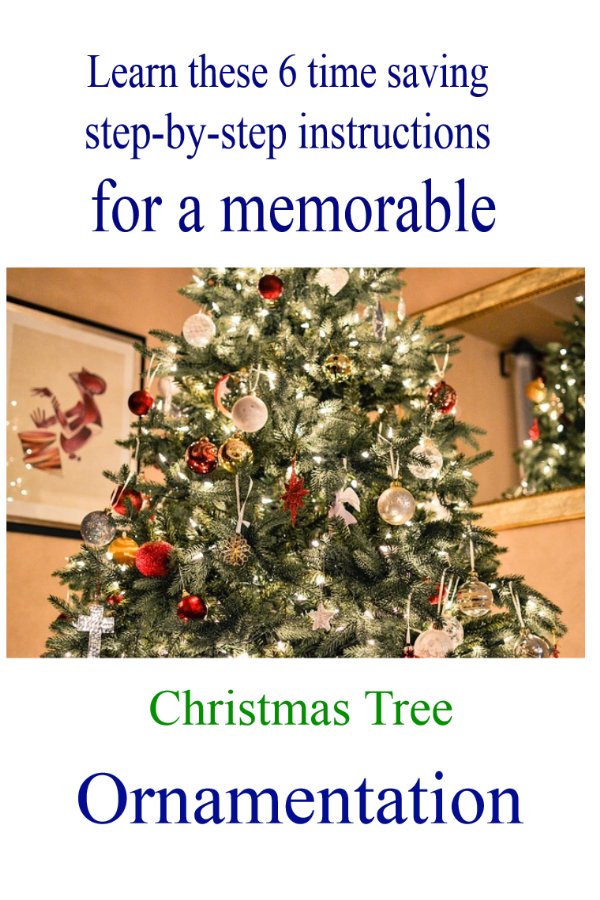
Stunning Christmas TreeRibbons - Unique Texture
The Supplies
Ornaments – different colours and sizes for various reasons
Sticks - different colours and styles
Fillers - something to fill in any larger holes on the tree
Seven-and-a-half-foot Christmas tree
Five to seven hundred (500-700) lights
The pre-lit lights
Two different kinds of ribbons
Poinsettia
The topper
Step by Step Instructions
Step by step Instructions for Christmas Tree OrnamentationStep one: Put the light on the tree
Put your it up by making sure you have lights on it.
Find about 100 lights for every foot of it.
For a seven-and-a-half-foot tree like these, give around five to seven hundred (500-700) lights. That is going to give you a really bright tree and it will be perfect for the size.
Buy light taking in account that they will last two years or more.
Put your lights on it.
Don’t go around and around in circles around while putting lights.
Not going around in circle helps save time tremendously and it makes it look better.
Start in the back corner and you are going to go up the tree and then back down.
Now don't go straight up but shove it. Tuck and shove all the way up.
This makes it so much easier not only to put up.
And, when you are taking the lights off the tree after Christmas you can just pull.
By doing so, just pull and then, all the lights come off at one.
Step two: Putting on the ribbon
Use two different kinds of ribbons.
Use different colours and textures to really give that tree a variety.
Start about right below where the topper will be.
Se the technic in the above video.
Stick one up there, stick the end and then shove it in.
Only use two full spools of ribbon and don’t get a whole bunch.
For having two individual spools of ribbon, cut them all at different lengths.
Create rhyme or reason to it but don't cut them any less than about three feet
Have dimensions that gives you want room to do at least three bunches.
It will look silly if it is a little bit too short.
So, do them at least three feet, some of them have six feet long.
Try to find spools that are big that does cover the entire tree from what you need it for.
Once you have my starter ribbon on go to the next step putting some bunches on the tree.
Remember to start with one and then shove, and shove.
Use the ribbon at different angles too, not just straight up and down.
Step three topper - Place poinsettia in the top centre
Part two- place two sticks behind poinsettias
Part three - place three larger stick behind.
Step four -Place large ornaments.
After that, you get the tree topper on then do the big huge ornaments.
Place the ornaments in a zig-zag formation.
Step five - place stick
Start putting all of the sticks on.
Do all of the same sticks at once that way they will be spread evenly over the tree.
Place all my Poinsettias which are my filler items.
This is going to help with large open spaces.
Try to have something you can spread and stick in those areas where they are bigger holes
Step six - Place all or
Since I was looking for a way of decorating mu Christmas tree in a very easy way, I did follow these steps and found out that it really save time in both stages (tree decoration, and removal of lights after the holiday). And I will continue using these techniques for having a better tree in the next Christmas.